Click on a PLU in the 'PLUs List' to edit it.
The 'Delete' button at the top of the screen will remove this PLU from both the Cloud and the V-R.
1. When a PLU is deleted it will not remove any data from the sales reports.
2. If the PLU is in a Mix & Match offer a warning message will be displayed. The link must be removed before the PLU can be deleted.
3. If the PLU is part of a Set Menu a warning message will be displayed. The link must be removed before the PLU can be deleted.
The 'Convert' button only appears when the site has a subscription to the Stock Module. It is used to define what type of stock depletion to use (Stock item or Recipe item). You will be led through screens that allow you to set the item's buying unit, cost, etc.
1. Converting to a Stock item defines it as the main item to hold stock.
2. Converting to Recipe allows a fraction, multiple or selection of items to be depleted from stock when this PLU is sold.
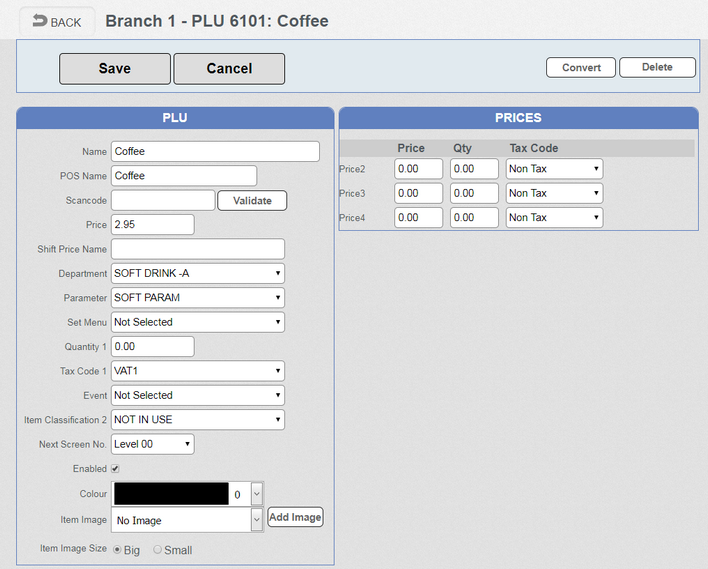
• Name is the name appearing on the Cloud reports
• POS Name will appear on the ECR screen, receipts and order printers.
• Scancode is used with a barcode scanner; the ECR supports EAN codes and UPC. It can also be used for PLU codes to register items.
• Price is the retail price including VAT that will be registered on the ECR. This is branch specific as different branches may sell the same item at different prices.
•Shift Price Name is the name of this PLU when prices are shifted to a different level.
Note: ‘Shift Price Name’ is only visible if the ‘General Feature’ setting ‘Display price shift name’ is either ‘Yes before item name’ or ‘Yes after item name’. Set this in ‘Configuration – General Feature’.
• A Department must be selected for sales reporting and keyboard management.
• A Parameter must be selected. This option will control things like kitchen printing or condiment status (See PLU Parameter setup). This option is branch specific as the same product may be printed on different order printers in different branches.
• Set Menu is explained in the Set Menu section of the manual.
•Quantity 1 defines the default quantity of items to be deleted from stock. For example a multi-pack be be defined as 4. If no value is entered here the default value will be 1.
• Tax Code 1. Links to a tax table where the rate of tax is defined. This information is used to calculate the VAT on reports.
•Event is used for Reporting and is further explained in the Pub Co Reporting Module.
•Item Classification 2 is a kind of sub-department classification of PLUs for more detailed reporting or handling of PLUs. Often used to create Mix & Match offers.
•Next Screen No. can be used to jump to another Department screen after this PLU is registered. For example, selling a spirit will then jump to a screen showing the mixers.
•Enabled Un-ticking this option prevents the item being sold on the ECR. If using ERA 2.1.0. or greater then it will also not be displayed when automatic keyboards are being used. See Keyboard Programming for a further explanation of automatic keyboards.
• Colour is used to link the PLU to a colour. When automatic keyboards are used it uses this link to colour the button on the keyboard.
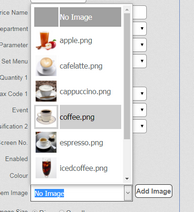
•Image. An image (PNG format, up to 25Kb) can be selected for the PLU. This will be displayed on the key top for this PLU. The image can be displayed Big or Small. Images must be added to the Cloud using the 'Programming - Keyboard - Images' option.
• PRICES. As well as the main price, 9 extra price levels are available. Each level can have a quantity specified - for example, for half pints (0.5) or doubles (2). Price levels can also have an individual tax status. The number of price levels displayed here is determined by the settings selected in the Branches screen.