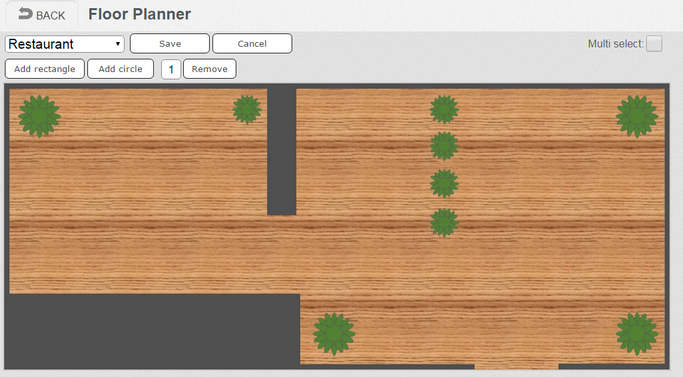
Let's assume we have set up a new Tab, set a background image but have not added any tables yet.
1. Click 'Table Layout'. The Tab is displayed (or you can choose the correct one from the drop down list).

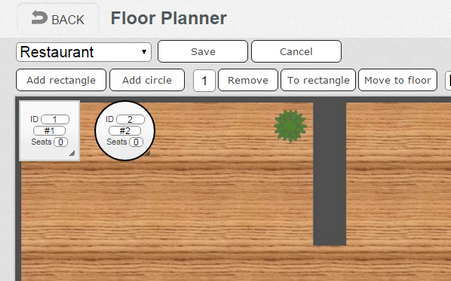
2. Click the 'Add rectangle' and 'Add circle' buttons. Our screen now looks like this (partial screenshot):

Note that tables are added in the nearest empty space to the top left corner of the layout.
The ID is the next available ID number in the system. In this case, since we have added no tables before this, they are 1 and 2.
The Table Name is automatically assigned as the ID number with a '#' in front of it. Hence, our tables are #1 and #2. Unless you really need to name tables, we recommend that you stick to this convention so that ID and Table Name match.
3. Click 'Save' to save your changes.