If you have created a new Set Menu in the designer, it will be created with no contents. Adding PLUs to a Set Menu is very easy. The same process below is followed if you just want to add a PLU to an existing Set Menu.
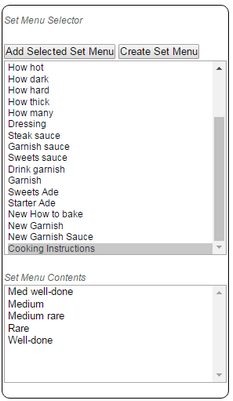
1. Highlight the Set Menu in the 'Set Menu Selector'.
2. From the 'Department Filter' drop down list in the right section of the screen, select the 'Department' to which the PLUs you want to add are assigned.
3. Tick the PLUs you want to add.
4. Click 'Add Selected PLUs'.
5. The PLUs will now be added in the 'Set Menu Contents' box in the 'Set Menu Selector'.
6. IMPORTANT: Your change will not be saved until you click 'Save'. If you click 'Cancel' without first clicking 'Save', the designer will be exited and you will lose your changes.
Note: If you want to add PLUs in a particular order, add them one at a time (follow steps 2 to 4 but choose only one PLU at a time). The first PLU you add will be at the top; subsequent PLUs will be added underneath.
Alternatively, exit to the 'Set Menu' screen and edit your Set Menu in there. It is easy to add PLUs one by one in the right order in 'Set Menu'.