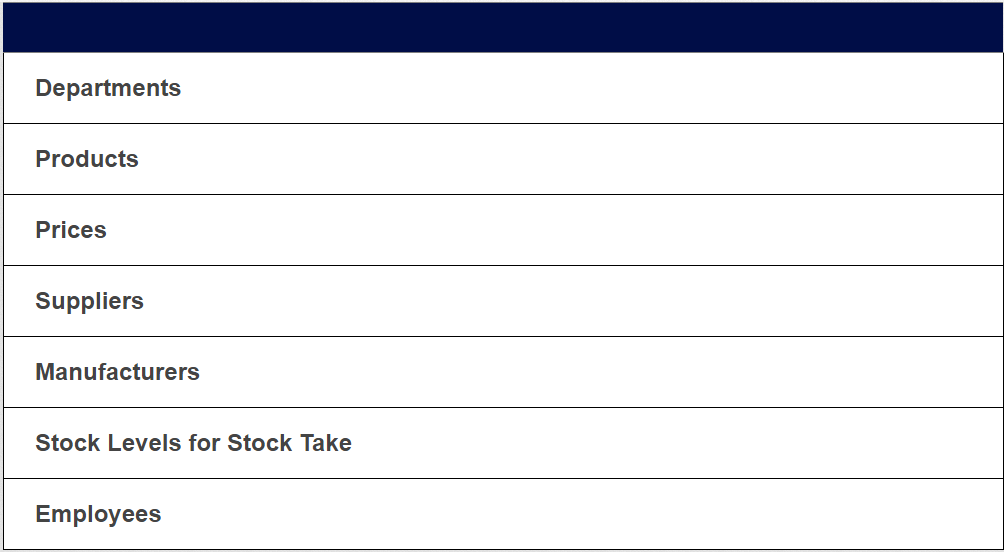
The import function uploads an excel file with the specific type of data. It will then parse the data to make sure it is valid before importing.

Step 1. Create an Excel sheet with the headings on line 1. This it to help match the data in the columns to the available fields to import.
For example 'ID' for the department number as well as Name, Group and Percentage Margin that you want to make on this department.

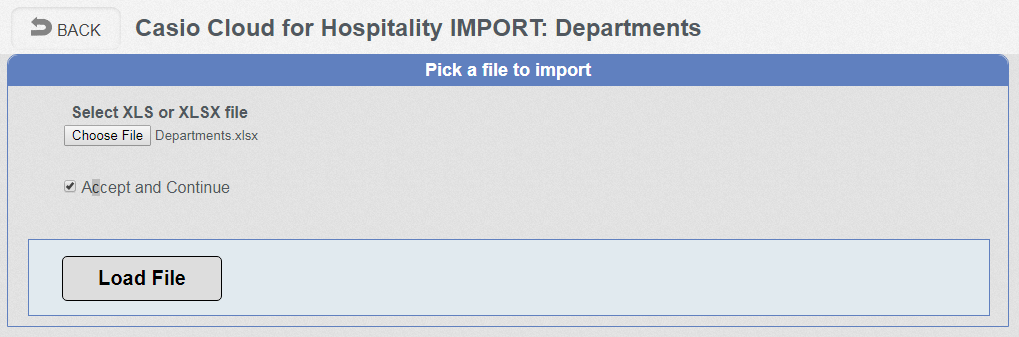
Step 2. Select the data type from the list. In this example we select the 'Departments'
Step 3. Press the 'Choose File' button and navigate to the excel file created in step 1. tick 'Accept and continue' and press the 'load file' button. It might take a short while to upload the file to the cloud.
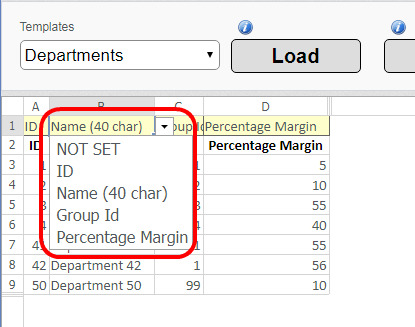
Step 4. The contents of the Excel sheet are displayed on the grid. Line 1 is used to match the data to the columns in the excel sheet. Click on each Column and select the data type that matches from the drop down list. If a column is not required then just set 'NOT SET' and this will then be ignored. You must fill in all columns even if they are not required.
Step 5. If the same format of data will be used several times then it can be saved as a template. Just configure the fields as in step 4, type a name for the template in the 'New template name' box and press 'Save'. When you want to import additional data you can just select the template and press 'Load' this will then fill in all the headings automatically.
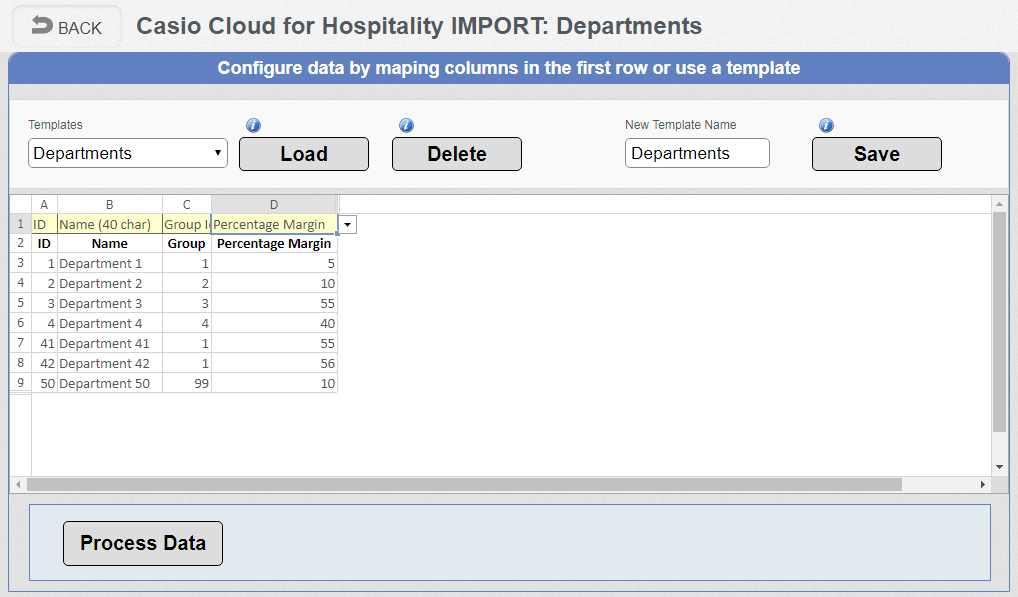
Step 6. Press the 'Process Data' button, any data that does not comply to the required standards will be shown as a warning. If there are more than 100 warnings it will then abandon the import. You must then rectify the problem and re-import the data.